Manual Mode

Auto vs Manual

There are 2 main 'modes' that you can use to capture photos on your phone - manual and auto. Here is a table showing the differences between them.

Auto Mode Manual Mode
The default mode that pops up when you launch your camera A 'hidden' mode within the camera. Allows you to manually control different aspects
  • You can capture images instantly as soon as you launch the camera, making it great for impromptu shots
  • However, image quality might be poor and the lighting may not be adequate, making images look dull and blur
  • Manually controlling each aspect puts you in complete control of your photo
  • Allows you to take high quality pictures as compared to auto mode
  • May not allow you to capture pictures immediately as some set up time is required. But operating manual mode on phone is easy due to sliders and buttons

Thus, manual mode is almost always a better option. This tutorial will explore the different aspects of manual mode. As making the switch from auto to manual may seem intimidating at first, it is recommended to start on semi-auto mode, which means that you can selectively control certain aspects.

Most recent smartphones have some form of manual (or pro) mode within the camera app. Just go to the camera app and look at your different shooting modes (like panaroma and slo-mo). If you can't find it, don't fret! You can always install a third party app! Here are some free suggestions-

Now that you have a suitable app, lets get right into it.

Manual Focus

Red dragonfly on flower Settings to achieve close-up picture

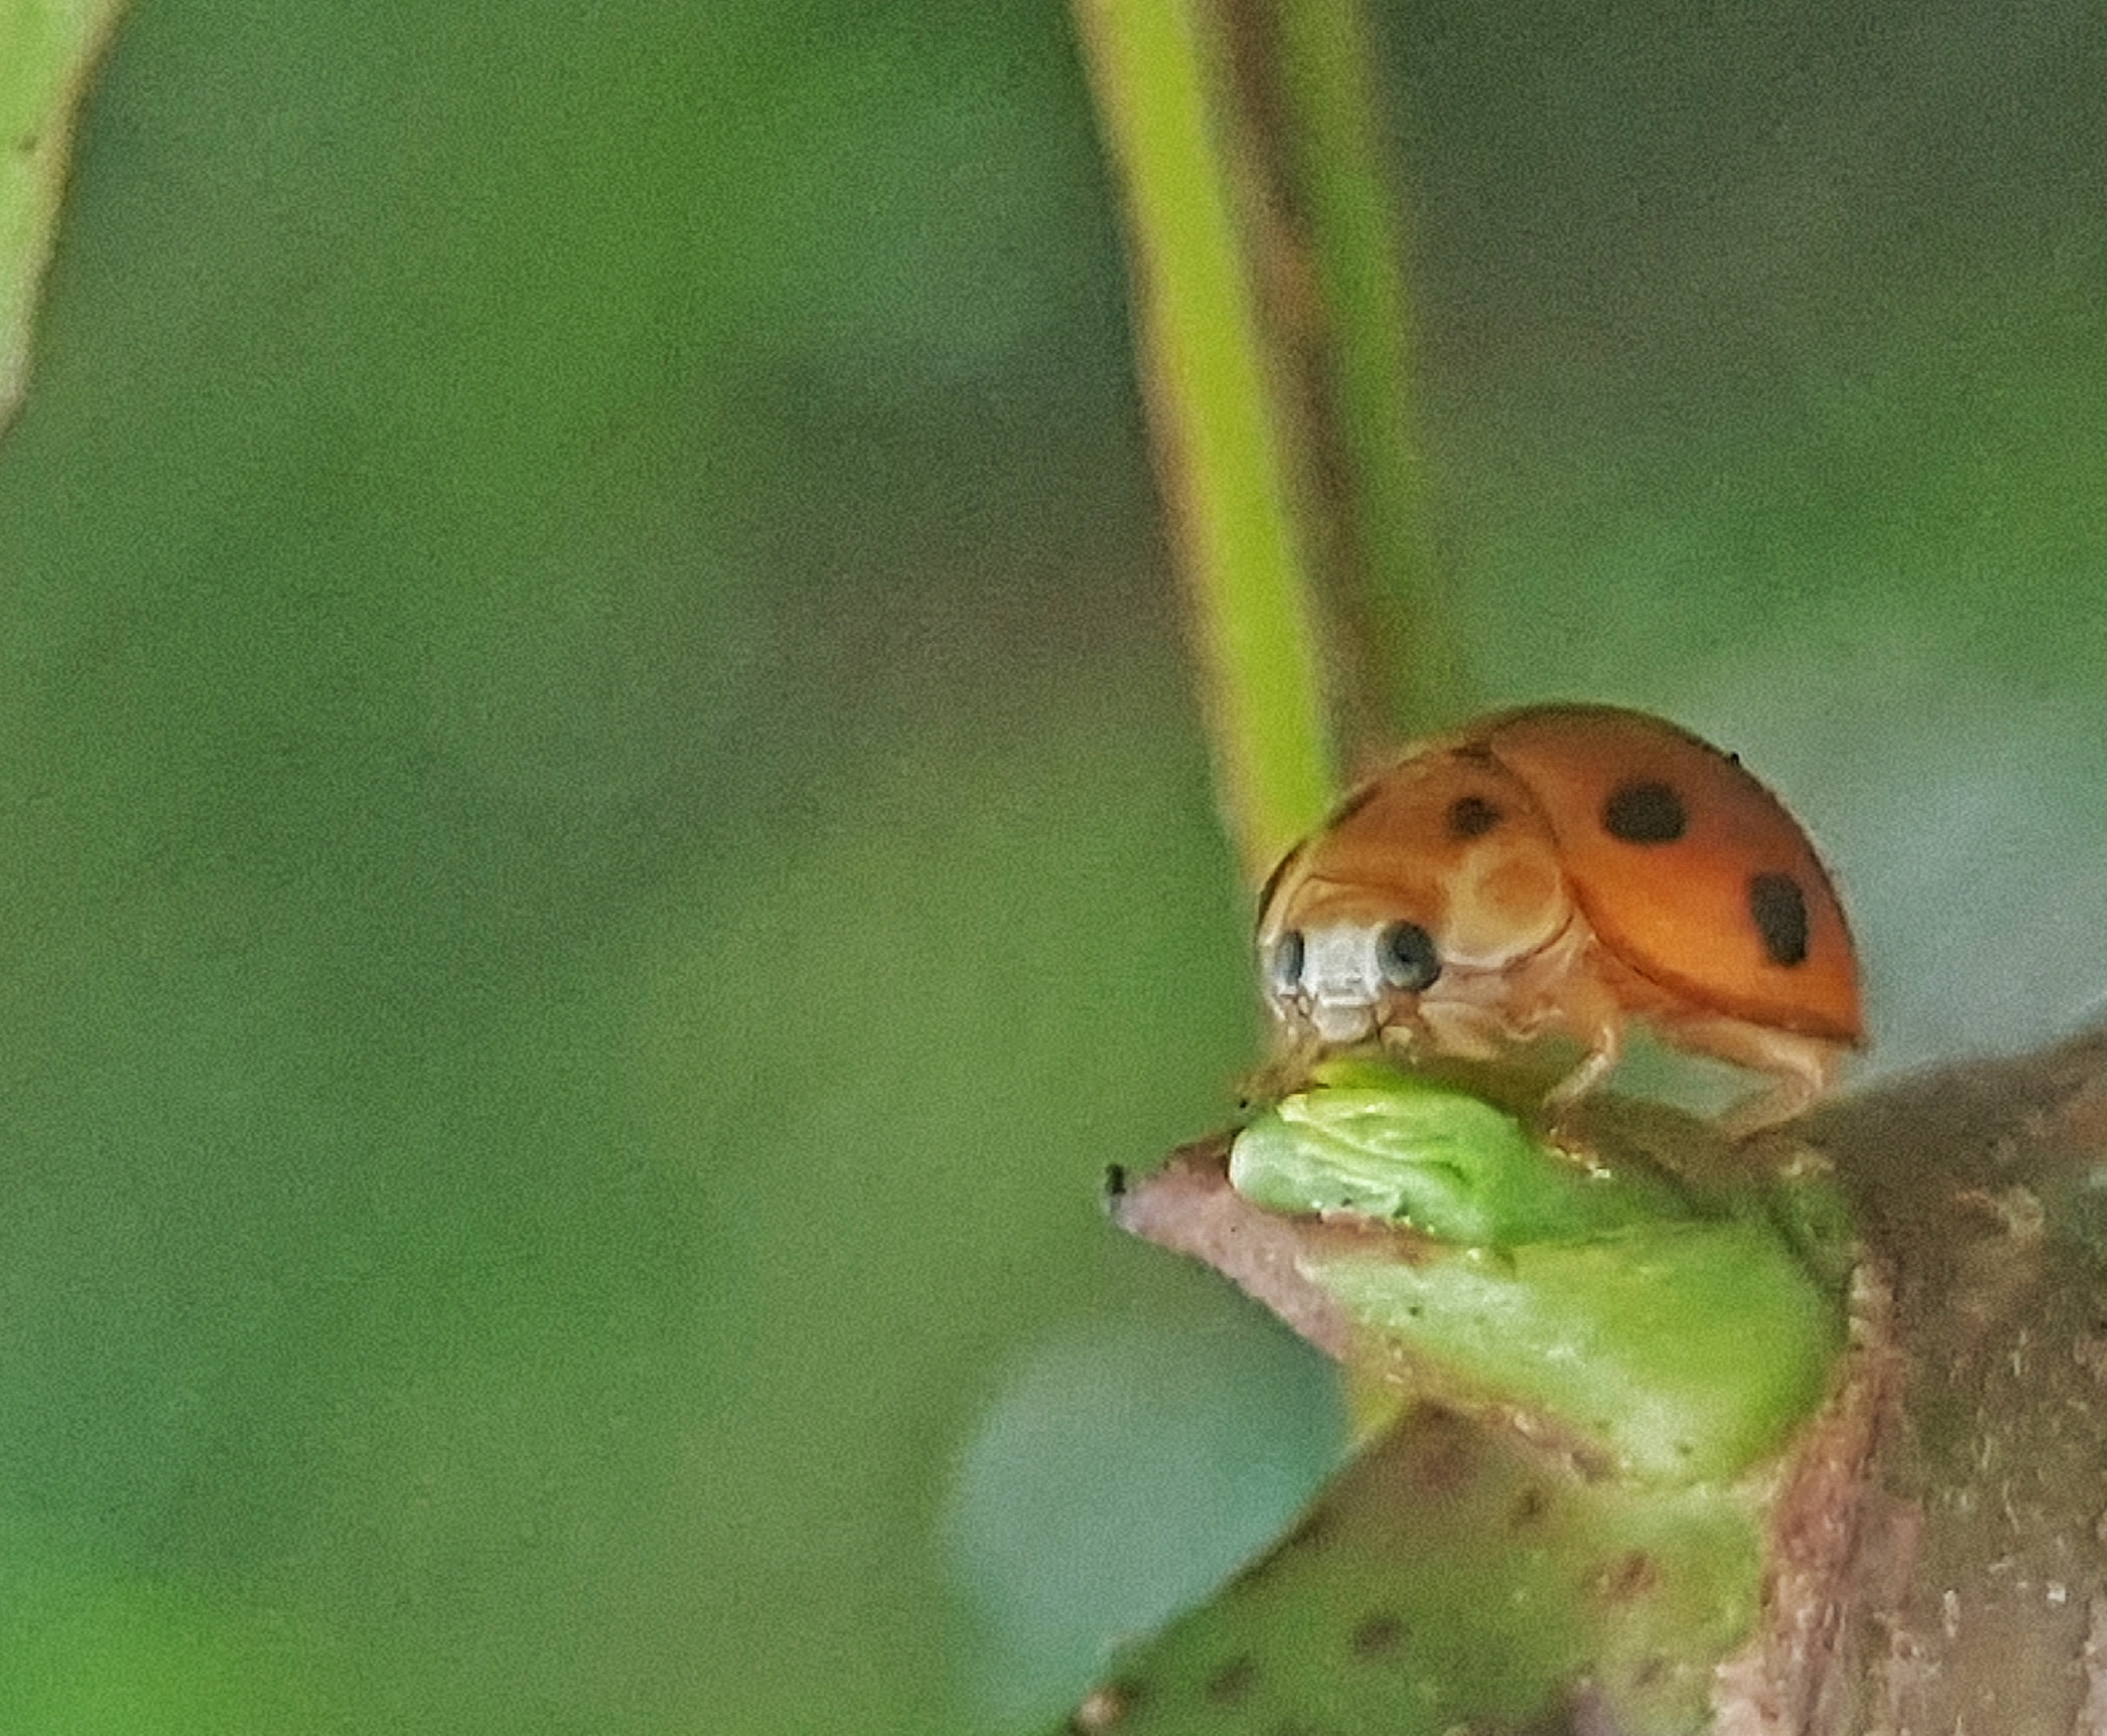
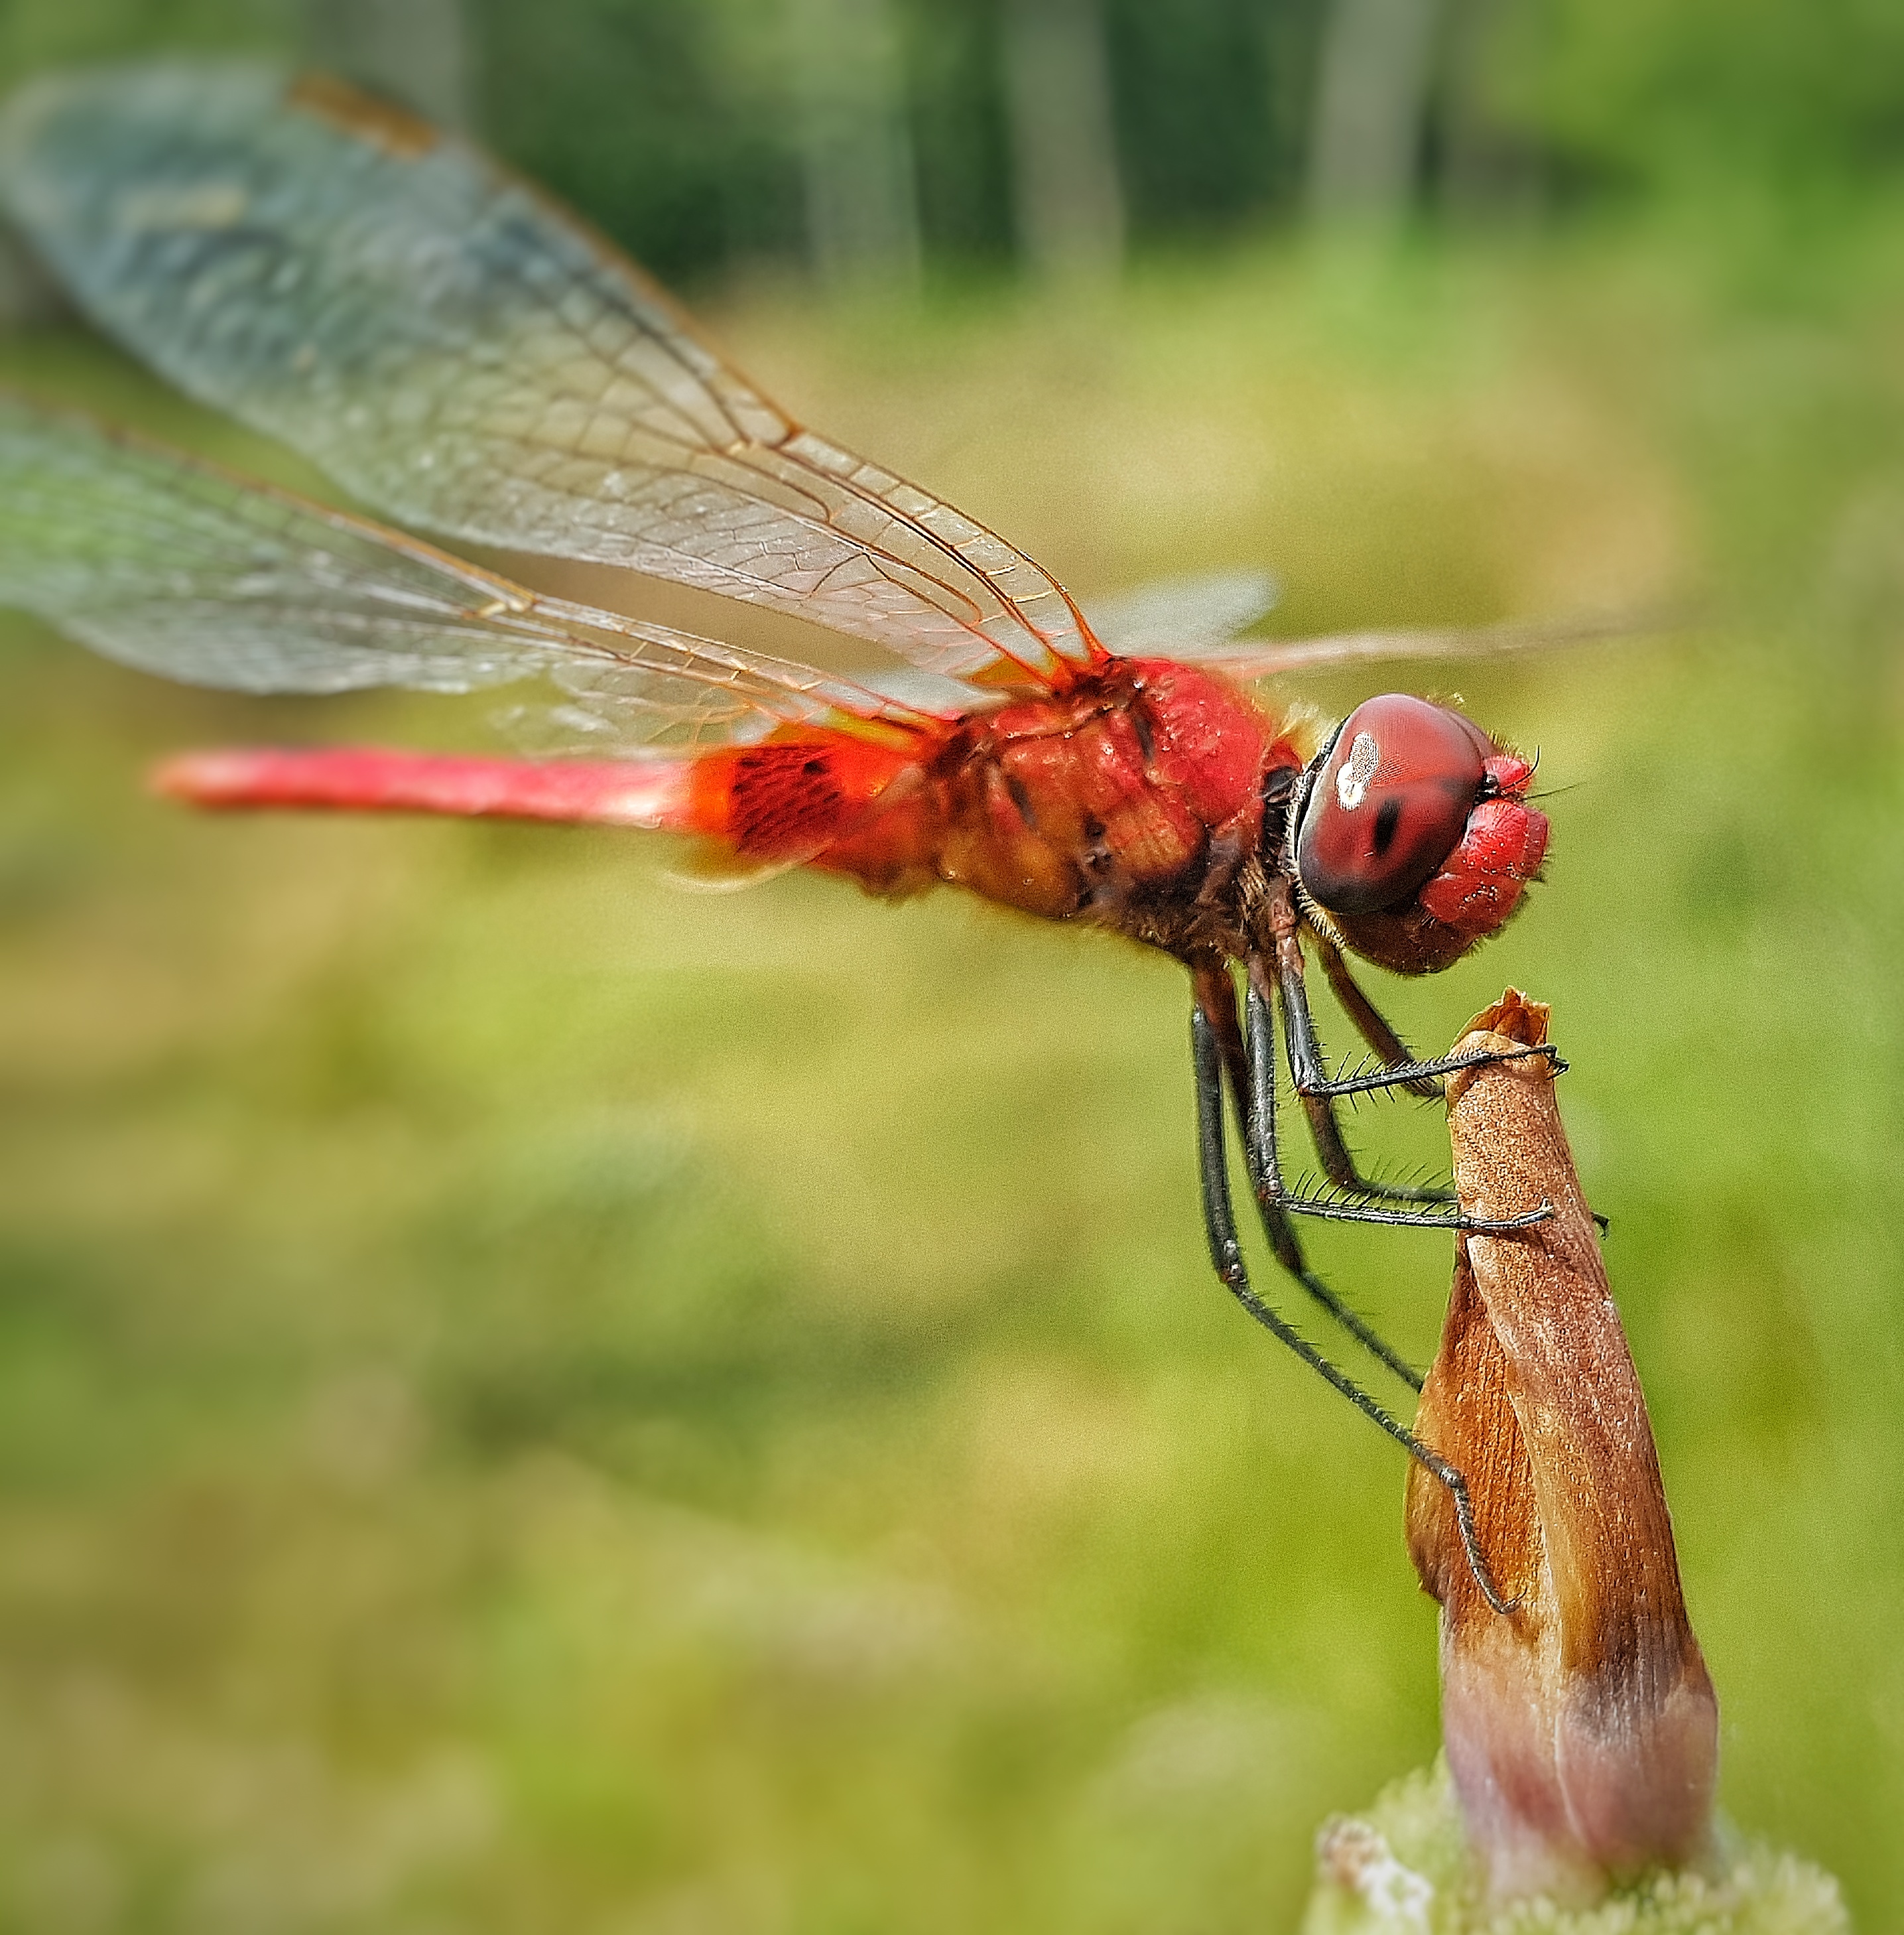
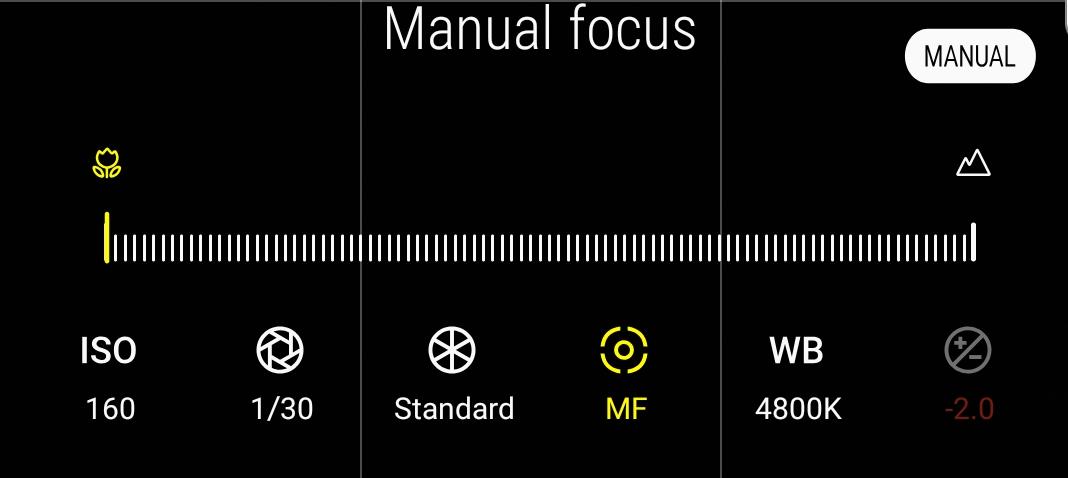
Focus is a vital aspect of manual mode that can help you to adjust the focal length of the camera. For really small objects, you would need to go very close to get a clear image. You might have noticed that when you do this, the picture would get really blurry in auto mode, and adjusting would be really hard. You would then resort to stepping back and zooming in, making the picture more pixelated and blurry. Manual mode helps to fix this. By moving the slider to the smallest focus, the object would appear sharper. This is particularly helpful for macro photography, especially for capturing insects like dragonflies and butterflies.

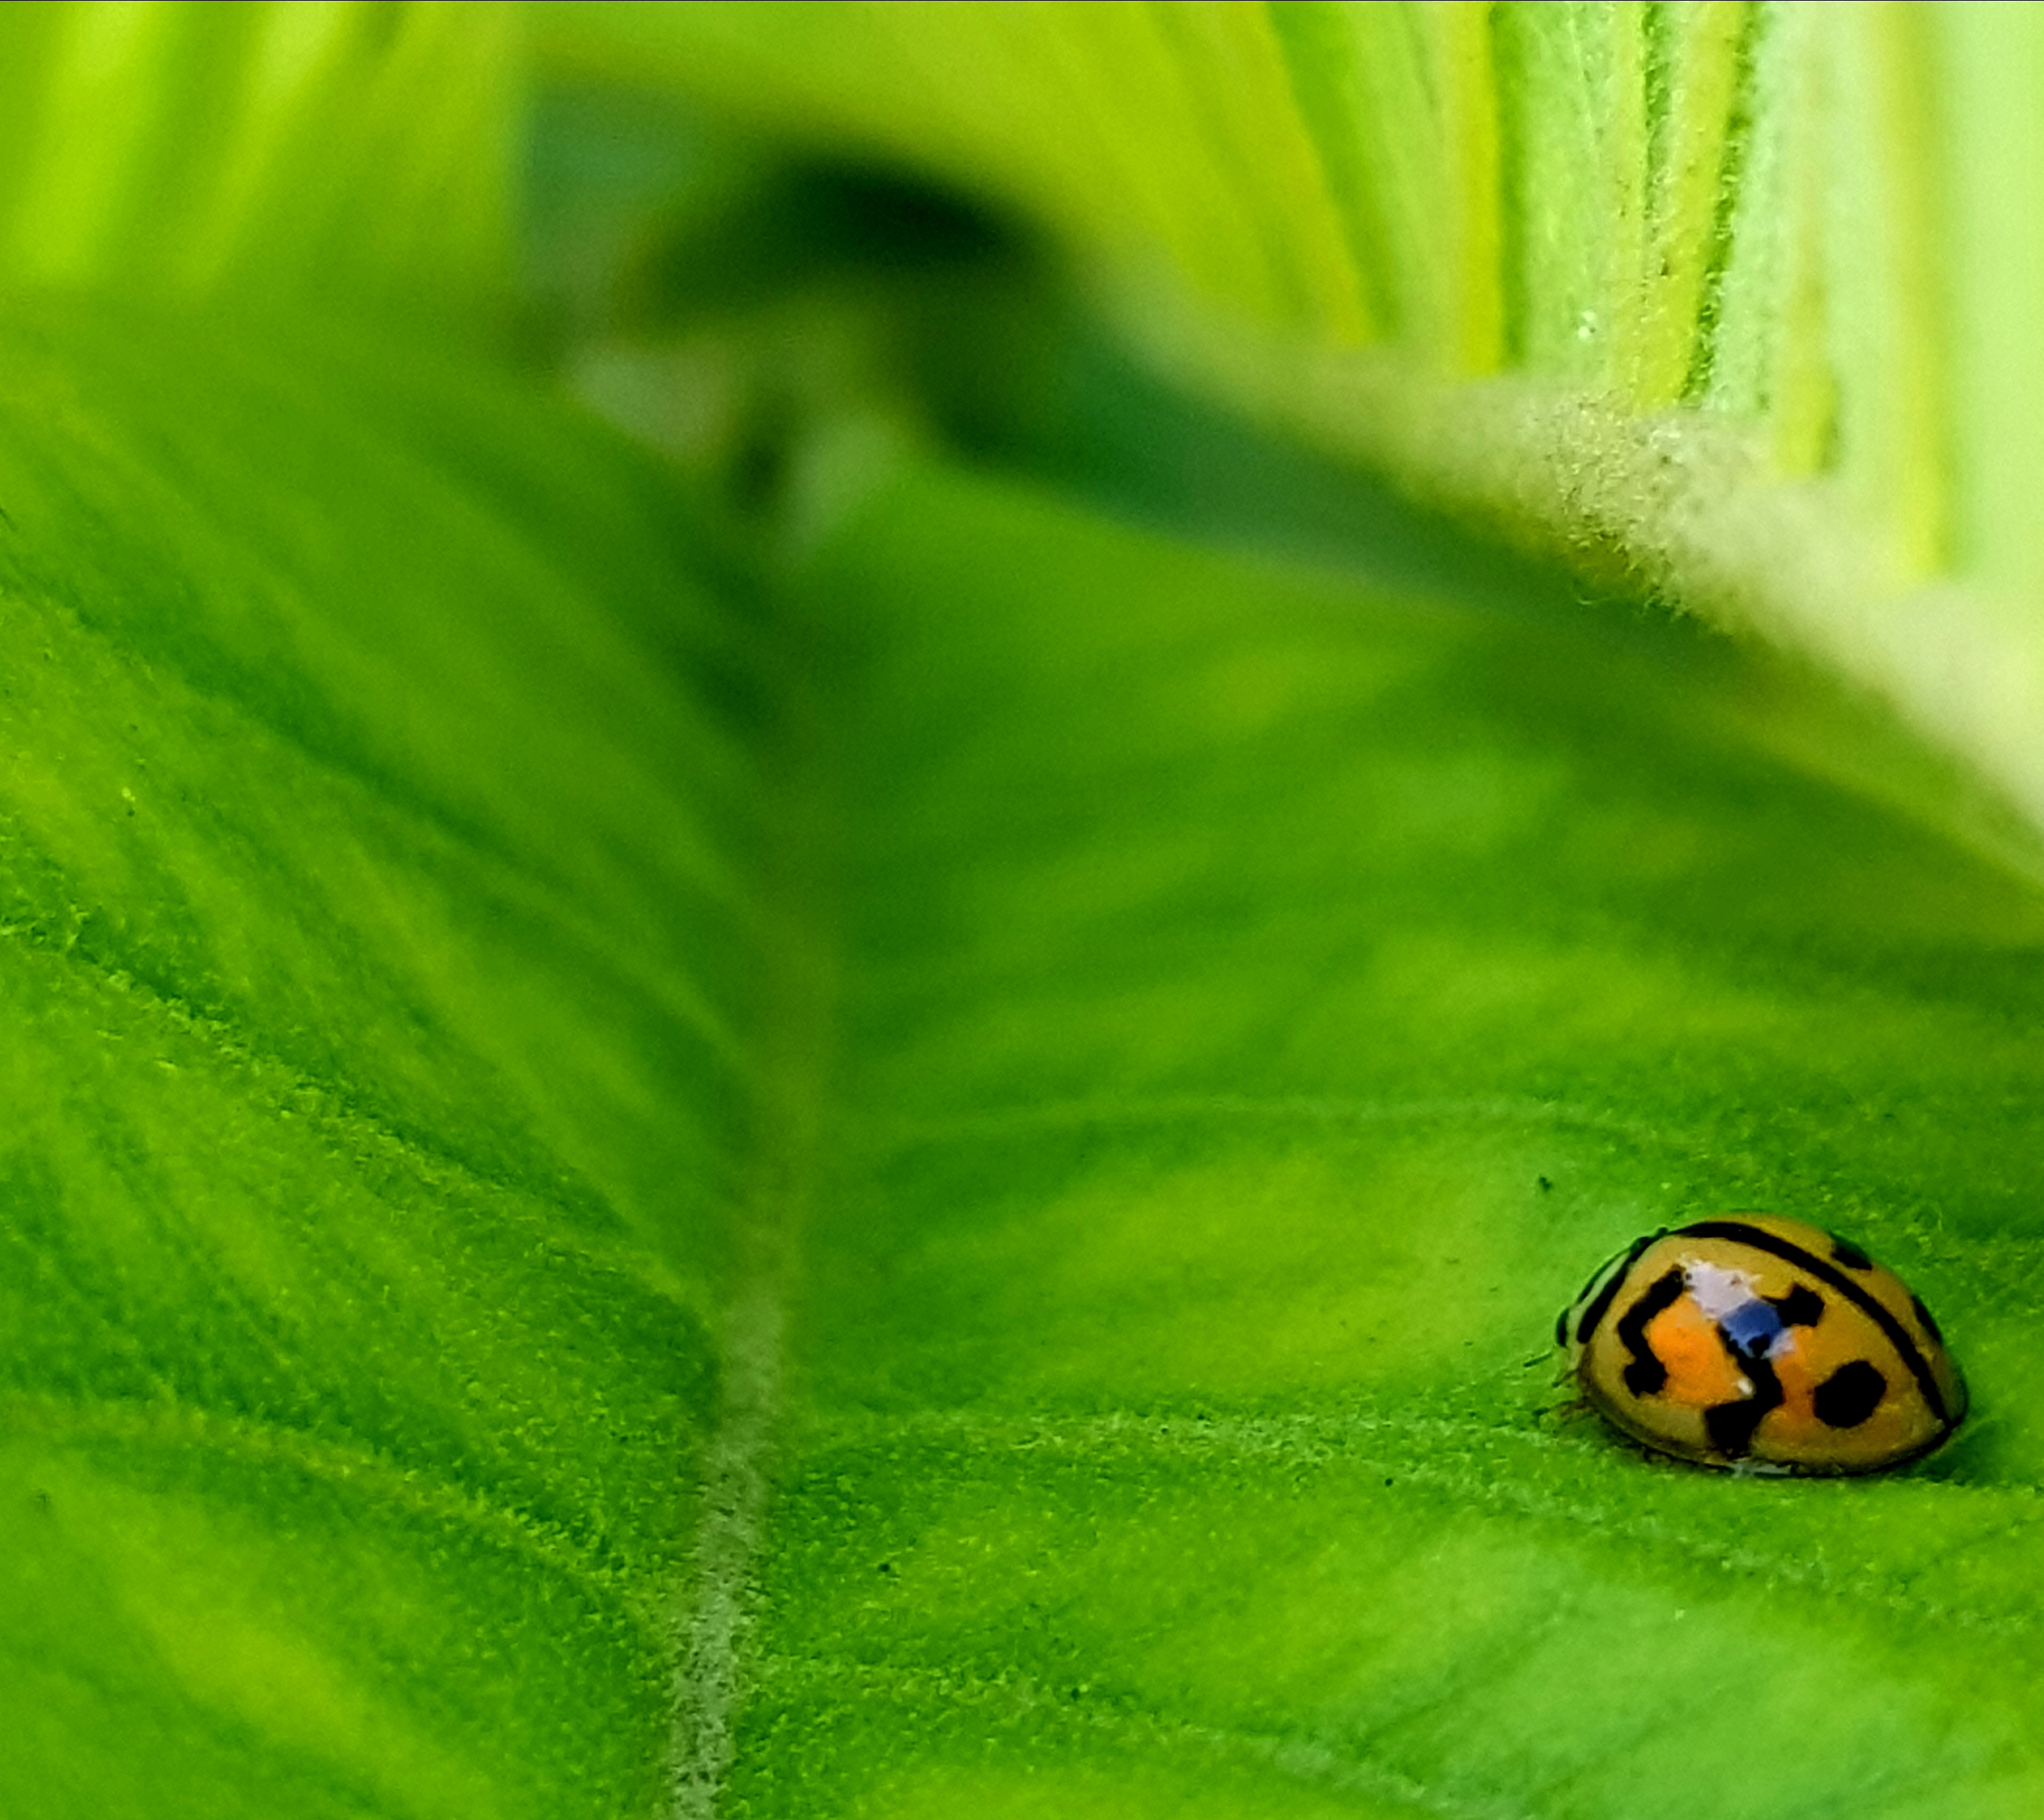
Focus also helps you to toggle between emphasis on the foreground and background of the image. By focusing on the subject in the foreground, the background automatically blurs, making the subject stand out.

Exposure

Exposure is how long a camera is exposed to its surroundings. You can control exposure by controlling how ISO, aperture and shutter speed work together. Finding a balance between the three to expose an image (to the surroundings) correctly is crucial to achieve a good photo. As the aperture (hole of camera opening) cannot be controlled in most smartphones, we will be focusing on ISO and shutter speed.

Grainy picture of a ladybug
A grainy & dull picture of a ladybug due to poor exposure
A clear picture of a ladybug
A clear picture of a ladybug with exposure control

ISO

ISO measures the sensitivity of the image sensor. Changing its value will determine how sensitive the sensor is to light. A lower ISO will make the sensor less sensitive to light, hence the amount of grain is lesser (as lesser digital noise is picked up by the sensor). However, you would have to increase the shutter speed to let more light in. On the other hand a higher ISO would make the sensor more sensitive to light, but images would be grainier.

Shutter Speed

Shutter speed refers to how long the shutter will allow light to enter into the camera. A faster shutter speed reduces exposure, and generally allows crispier photos. This is because our hands are not very stable while taking pictures, hence having the shutter speed longer means the photo might be blur and shaky in the end.

Don't worry if you're unable to get it on your first try; adjusting exposure takes a lot of time and practice to master. You'll get there!

White Balance

Have you noticed that sometimes, when taking a photo, what we see on the screen does not match what we see with our eyes - its sometimes either too blue or too orange? This can be resolved with white balance. It just involves moving a slider accordingly to match the tint of what our eyes see.


That's pretty much all you need to know to get started. Now go out there and take some wonderful pictures! (or visit the gallery for some inspiration)